Gather old photos, frame them, nail them up!

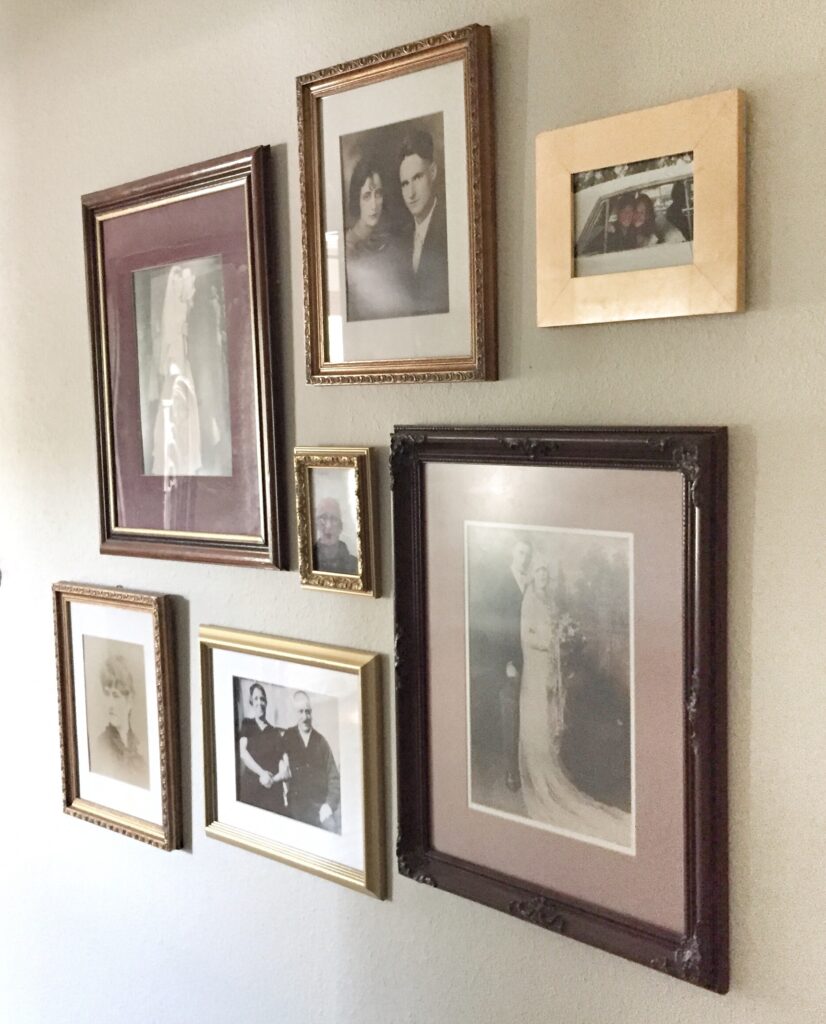
September 13, 2020, is National Grandparents Day! (See post “Grandparents Day and Marian McQuade”.) For those of us whose grandparents are no longer living, cherished photographs are all we have left to remember our beloved Nanny, Poppa, Oma, or Opa. And for those who are still blessed with grandparents on this earth, what better way to celebrate them then by hanging their photos front and center in your home. A collection of photos, a variety of frames, a hammer, and some nails are all you need to create an ancestral gallery wall – a simple and stylish way to honor and decorate at the same time!
Photo scavenger hunt:
If your family is anything like mine, you may have to go digging through boxes and photo albums for pictures of past generations – or call up your cousins, aunts, and uncles. But, once you find the photos, modern technology makes it easy to duplicate/copy/scan and print – often with better results than the cracked and creased originals.
Original photo is yours for the taking:
If you have the original photograph, you don’t have share with anyone else, and it’s the size you want, you’re all set!
To copy or enlarge photos or for damaged photos:
* Scan: If you have a flatbed scanner built into your home office printer/copier, you’re golden. Lay the photo gently on the glass, being careful to not cause damage to the original photo from handling or pressure. Gently close the scanner lid. Choose to scan in “color” for the best results, even if the photo is black and white. Also, choose the .jpg format for the final copy to ensure you have an easier time editing and sizing the scan before printing. Size the photo to fit your frame, then print on your home color printer. You can also upload the photo file to a photo processing app/program for printing (e.g., Shutterfly, Walgreens, Sam’s Photo Center, etc.) – some services allow you to pick up your photos within a few hours of they can deliver them by mail in a few days.
* Photograph the photograph: If you do not have a scanner, your cellphone camera will do the trick! Lay the photo on a flat surface in a favorably lit area. I have found that photographing during the day near a window with indirect sun and without overhead lights on is best to minimize your shadow over the photo. Position your camera level over the photo, ensure it’s in focus, and snap a shot. You now have a .jpg of the photo on your phone which can then be uploaded to your favorite photo app or photo processing center for sizing, cropping, and printing.
Frame it!
Before going out to buy a bunch of new frames for this project, look around your house, your closets, your attic, and the thrift store. An eclectic collection of frames of various finishes – especially given the vintage theme – makes for an interesting gallery. Not only that, but you can save a slew of money by not having to buy new frames. There are really no rules to the types or sizes of frames you “should” use for an eclectic/organic gallery – whatever brings you joy.
If you want a more cohesive look, choose frames with a similar finish or color (wood, gold, silver) of various sizes. Or, just spray paint them all the same color – a can or two of black spray paint is your friend (or white, blue, green, yellow…)! Another way to add cohesion is to add a white matting to all frames for a quick and clean update.
Create templates and arrange on the wall:
You can spend days trying to get your collection of photos “just right” on the wall. Any add a bunch of unnecessary nail holes. Instead, this takes a bit of time, but totally worth what you save in frustration:
– Trace each frame onto butcher paper, newspaper, or wrapping paper – any type of paper big enough for your frame – and cut out each tracing. Now you have a bunch of rectangles/squares/circles as “stand-ins” for the actual framed photo. Make sure you write the name of each photo on your template to keep them all straight, e.g., “Grandma Olga”, “Grandpa Dan”, “Dan/Olga wedding”, etc.
– Mark on each template where the hook or wire is on the frame. For example, flip over Grandma Olga’s framed photo and measure how far from the top of the frame the hanging hook/wire is. Mark a dot on your template at that measurement.
– Roll up a few little rolls of blue painter’s tape and place them on the back of each template. (Blue painter’s tape will be kind to your walls — it will not leave residue or pull off your paint/wallpaper.) Tape up your templates on the wall in any arrangement you want – move them all around, up, down, over, out to your heart’s delight. Ask family members or friends for their opinion if you want. (Note that if you use newsprint for your templates, be careful not to rub the newsprint on the wall — it can leave inky smudges.)
Nail it!
– Once you are content with the arrangement, you are ready for nails! This is the best part: Remember when you marked a dot for the placement of the hook/wire on each template? With the templates on the wall, position your nail on the dot, and hammer the nail into the wall THROUGH the template. Once you have nailed into all the dots, remove the templates one-by-one and hang the corresponding frame. (If you remove all the templates at the same time, you may not remember which nail goes with which frame.) Repeat for all of the templates, and you should have a gallery wall exactly to your specifications! (I recommend gently removing and saving the templates for now in case you decide to move things around down the road. You won’t have to reinvent the wheel.)
For Fun!
Add in a few current photos of you and your family so that you can sit among your ancestors.
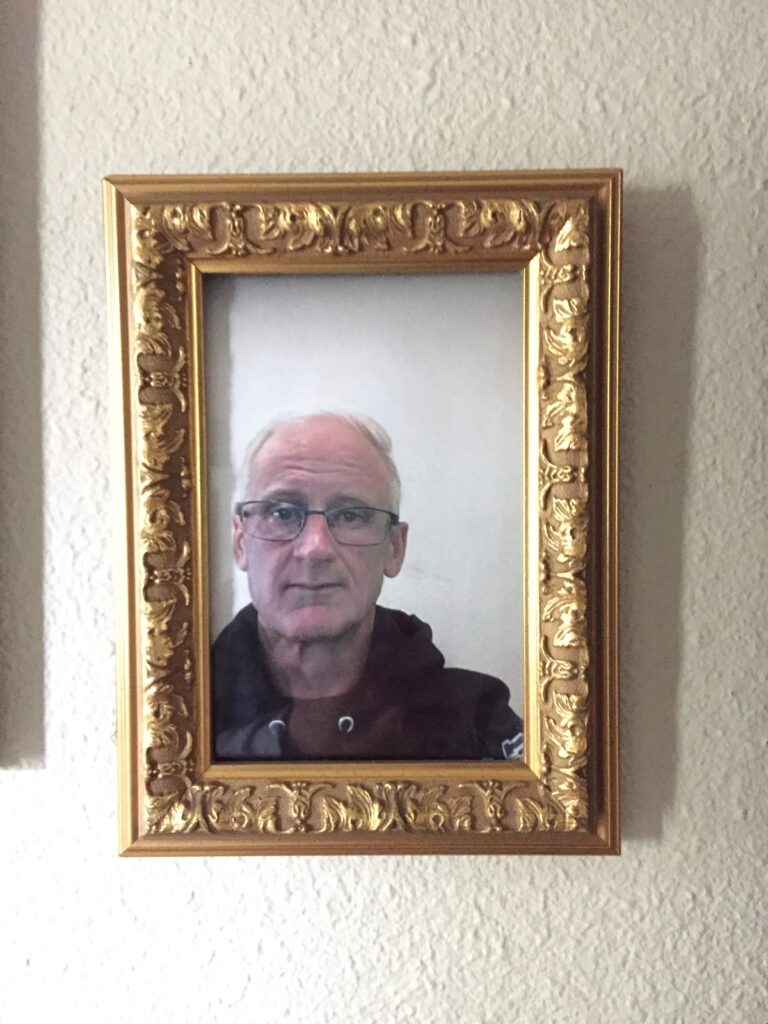
SUPER FUNNY STORY – “GRANDPA CALVIN”: When the photo aging app was all the rage in mid-2019, our son’s friend, Calvin, printed an aged photo of himself and enlisted our daughter to enshrine “Grandpa Calvin” on our ancestral wall! I happened to have an empty frame on the wall — the frame was the right style and it fit perfectly in the space as I was creating the wall, I just hadn’t printed a photo for it yet. Ava stuck the photo of “Grandpa Calvin” in the frame and waited… and waited… and waited to see if the rest of us would notice. It took TWO WEEKS before I noticed him staring back at us — hysterical! Twenty-three-year-old “Grandpa Calvin” remains there to this day!
